Never use rm, instead use trash


Those who use command line heavily, they use a command called rm almost everyday. I myself use command line everyday, and I most often use rm for deleting files and folders. Things getting more worse when you chain -rf command with rm. Last week I was working on a project and I accidently run rm -rf command to my project root directory. Then all my codes were gone and it’s not reversible. Thanks to git, I don’t loose all my codes, but the latest uncommited changes.

After that incident, I tried to find some solution. Then I find an awesome tool called trash. It’s a simple node module and you can use it to your project. But I installed it globally so that I can use it anywhere on my machine. It deletes your files and folders just like rm but it put then to trash. So, you can undo the process.

Screen Shot 2016-03-19 at 9.31.00 AM

The installing process is very strait forward. I assume your machine has already node and npm installed. If not, then install them. After that run this command on your terminal

npm install -g trash-cli

If it shows an error, try with sudo. Then you are good to go.

Using trash is very easy. If you are familiar with rm then you are already known to trash. It uses similar commands. Here is an example

trash file.txt

You can do some complicated operation also.

trash '*.png' '!welcome.png'

This command will delete all your png files except welcome.png.

Hope you will like it, and never use rm from now on. Peace.

Setting Up Atom Editor for Software Development – 04


Today I am going to talk about a very important topic, and that is Lint. In computer programming, lint is a Unix utility that flags some suspicious and non-portable constructs (likely to be bugs) in C language source code; generically, lint or a linter is any tool that flags suspicious usage in software written in any computer language.

According to wikipedia

In computer programming, lint is a Unix utility that flags some suspicious and non-portable constructs (likely to be bugs) in C language source code; generically, lint or a linter is any tool that flags suspicious usage in software written in any computer language.

Thats bookish knowledge, lets make is a little bit easier to understand. Linter will help to prevent various typo and organize your code in various coding standards.

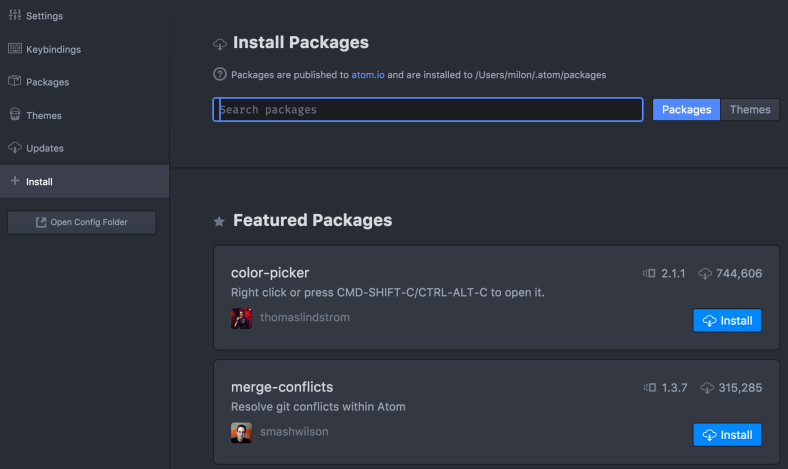
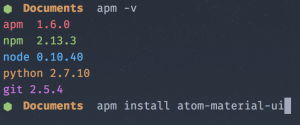
I am a web application developer and I use php and javascript almost everyday. So, in this episode I am going to show you how to use linter in these languages. First of all you have to install the base package for atom linter. It will give you the base functionality and it’s a bridge for using specific linter package for various language. You can install linter by typing apm install linter or from settings’ package installer.

This linter package supports a lot of different languages. All the supported packages and ducumentation can be found on http://atomlinter.github.io/

I use only some packages that I use for my day to day job. Let me introduce those one by one.

At first lets talk about HTML linter. I use linter-htmlhint package for this. This package is just a bridge between atom and famous htmlhint package. You can install it via apm install linter-htmlhint. It assume you pc has already htmlhint installed. If not then you could install it through npm install htmlhint -g and then give it’s path to htmlhint package settings. I assume your machinealre If you don’t find the path, then type which htmlhint on your terminal and paste the path to the settings.

After that I am going to talk about csslint. It’s almost the same process, just install it form terminal with apm install linter-csslint and configure it same as previous package.

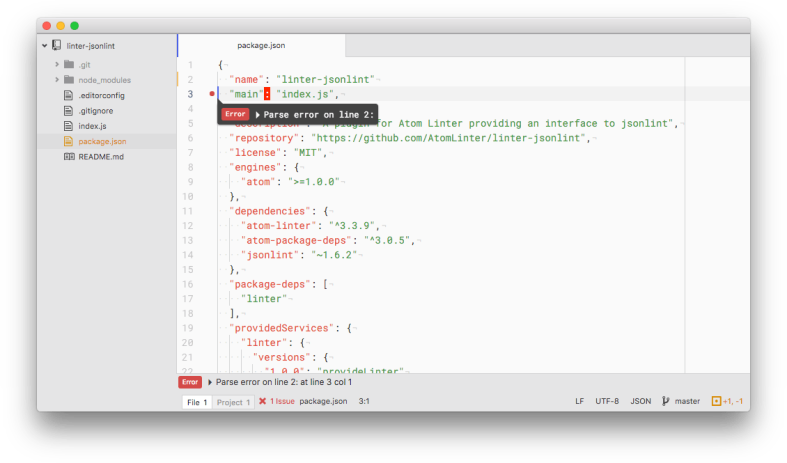
You can install jsonlint and bootlint for linting json and bootstrap code. Install it by typing apm install linter-jsonlint and apm install linter-bootlint. Configuring process is exactly the same.

linter

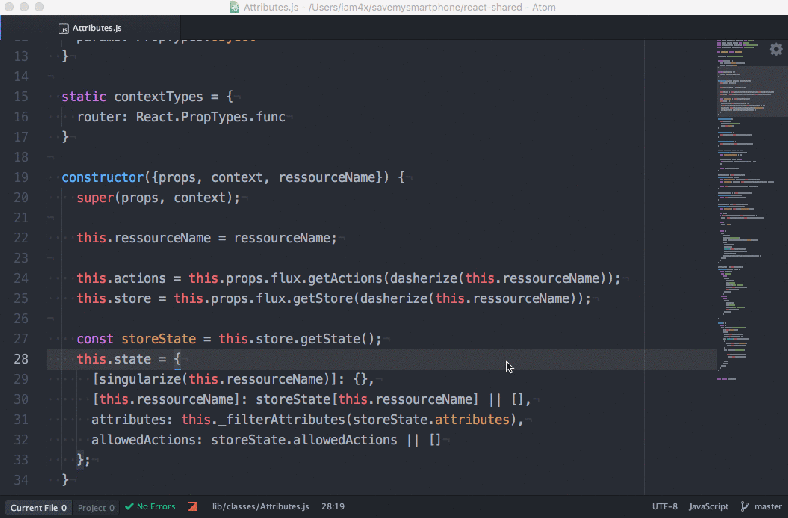
There are two popular linter for javascript. One is jshint and other is jslint. They are not better from one another, they are just different. I personally use jshint. Install it from terminal by typing apm install linter-jshint and then give it’s path in settings just like the previous one.

linter

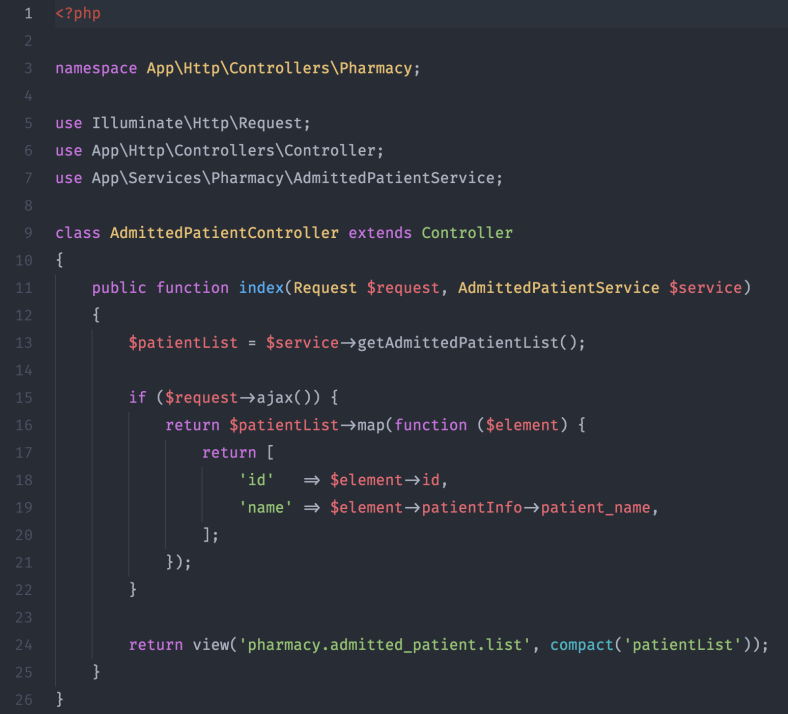
I use php a lot and php has some popular linter package. But I think PHP code sniffer is the most popular and one of the best package for php. You can install the package form terminal by typing apm install linter-phpcs. It assume youe machine already has phpcs installed. If not you could install it in a number of ways. One of the popular way is to install it through pear. Just type pear install PHP_CodeSniffer and you are good to go. But I prefer another way, and it’s through composer. If you are a php guy, I assume you have familiarity with both pear and composer. You can install it from terminal with composer global require "squizlabs/php_codesniffer=*" command. Then just give the path of phpcs to the settings of the package.

Thats it. From now on if you do something wrong while typing, atom linter will show errors.

Thats all for today. Peace.

Setting Up Atom Editor for Software Development – 03


In this episode I am going to talk about some basic package of atom. I told you earlier that atom is a text editor and it is not as feature rich as other IDEs like PhpStorm or Netbeans. But you could give it additional functionality with various packages.

First I am talking about a package that will give a nice look to your editor. The package is called file-icons. A number of icons and colors are provided by default for a range of common file types. If you have file that you would like custom icons for you can easily add this yourself. You can install it with this command- apm install file-icon or from settings menu’s install tab.

file-icon

The next package is inspired by Sublime Text’s minimap feature. Actually I am a very big fan of minimap and I use this feature in every editor I use. Install it through apm install minimap or via settings menu. From settings menu you can change the position either in left or right and enable or disable colors. You can also scroll via clicking on minimap and also automatic hide minimap pane.

minimap.png

Now I am talking about a very famous package that you might already familiar with. It is none other emmet, which was used to known as zen coding. It will boost up your development speed a lot. You can find the documentation and installation instruction on their official website emmet.io

What emmet does is with a keypress it expand HTML tags. like if you type a&gt;img and then press tab or Ctrl+e then it will expand to <a href=""><img src="" alt=""></a> which is very handy. But for atoms default keybinding, tab is not working all the time. You could add the following line to you config.cson file to work it properly.

# Emmet
'atom-text-editor:not([mini])':
'tab': 'emmet:expand-abbreviation-with-tab'

I generally use markdown instead any rich text editor like MS Word or Libre Office. If you are like me Markdown preview plus can be a great tool for you. Just install the package from package installer and press ctrl+shift+m to view preview. For mathematical equation rendering press Ctrl+shift+x and see the magic.

Thats all for today. See you guys in the next episode. Piece.

Setting Up Atom Editor for Software Development – 02


Let’s start configuring atom’s look and feel. Atom comes with two types of visual themes. One type is UI theme and other is Syntax theme. UI theme defines the look and feel of the editor and syntax theme defines the syntax highlighting.

Atom comes with a bunch of UI themes, actually four to be precise. The default one is One Dark. I like it most. Actually I like this theme so much that I used it with my other editors even with my terminal. There are some more popular themes for atom especially material theme is very popular. You can find any themes on atom’s official theme portal.

Now lets talk about syntax theme. There are mainly two types of syntax theme, the light one and the dark one. I personally a very big fan of dark themes, I think most of the developer is. Currently I am using One Dark syntax theme. I actually change syntax more very often. Seti syntax is probably the most popular theme of atom. Material theme is also popular. I used them both. You can find tons of other theme on atom’s theme directory. I liked a syntax theme named Space Peacock very much, you can give a try with that too. I hope you would love that.


Screen Shot 2016-03-03 at 11.54.20 AM

One Dark theme


Solarized is also a very popular theme for any editor or IDE and it is very pleasant to eyes. In facts most of the popular themes are available for every editor or IDE.

Installation of theme is very strait forward. You can install them via settings menu. You can go to settings menu by pressing Cmd + , on mac or Ctrl + , on windows or linux. Go install tab and search your desired theme and then press install. You are good to go. Then form the settings menu you just change the theme.

Screen Shot 2016-03-03 at 11.48.07 AM

Atom also comes with a command line package Screen Shot 2016-03-03 at 11.51.43 AMmanager called apm. After installing atom you can go your terminal and type apm -v to verify. You can install theme vai apm also. I actually prefer using amp. You can install theme via apm also. Just type apm install theme-name and press install. Theme will be installed.

That’s all for today, will talk to you on the next day. Peace.

Setting Up Atom Editor for Software Development – 01


People who are dealing with writing code for full time job, actually passes 40 hours of more on a week to their text editor or IDE. I am a software developer by profession and I normally code 45-50 hours per week that means I had to stick with my text editor for most of time. So, my text editor should be something that I should comfortable with. In this series of blog posts I will tell you how I prepare my text editor for my work. Let’s start.

atom-editor

Let’s begin with some history. I would love to tell you about this. I started computer programming back in 2009 with C. In my university my teachers used a compiler called turbo c with comes with a text editor. I started my coding with that. Then a few days later I got introduced with CodeBlocks. It is a wonderful editor, and I still love that. I do almost all my competitive programming with this editor. Then at the end of second semester, I started writing code in Java. That time my roommate Sohag Bhai introduced me with jEdit. This had some nifty keyboard shortcuts to compile and run Java. Then when I do my university project in Java, I used a very famous IDE called Netbeans. Besides that for other programming language like assembly, prolog, lisp and matlab code I used notepad++ on windows and an open source text editor called geany in linux. Actually I liked notepad++ more than any other text editor but it was available on linux on that time. I don’t know whether it is available on other platform right now, hope it is as we can run C# code other platform.

After that I started using php and I still used Netbeans for php. But Netbeans is a very heavy-weight IDE and it almost killed my 2GB RAM. So I want something fast and light-weight. Then I started using the great Sublime Text. After finishing my university I joined in job and there my colleague Prasit Dada introduced me with PhpStorm. It is a great IDE and I used it with almost two years. This is the first IDE that I paid money for. But recently I was little unhappy with their new pricing model. I still have the license for PhpStorm but I don’t use this that much. I the mean time, I tried various different text editors like adobe’s brackets, github’s atom and a bunch of other tools, but all them failed to win my preference.

Last year I visited a startup company called Backpack which you may familiar with and I saw one my coding idol Rifat Bhai using atom. Last time when I used atom, performance was not very pleasant. I talk to him about it, and he inform me atom’s 1.0 version was released a couple of days back and I got a huge feature and performance boost. That day after coming back to my home, I gave a shot to atom and I was surprised. From that day I am using atom as my primary text editor.

One thing I forgot to mention, I used Vim for a long time as my secondary editor. Vim has a huge learning curve and I am still a noob on Vim. I don’t remember when did I first used Vim, but I thing it is Ring Bhai who introduced me with Vim when I first started using linux OS.

Now lets talk something about atom. Atom is an open source project by Github and it is based on electron shell. Github uses html, css and coffee script to build atom. It is available on every platform and every parts and bits are configurable. It is not as fast as Sublime Text right now but with every release it gains performance boost, but it is good enough for me.

In this series I will show you how I configure atom for myself. Starts with installing atom. Atom installer can be downloaded from their official website and steps are very easy and strait forward. Just download the installer and install it. As you are reading this, I assume you can do this without any supervision. That’s all for today, will talk to you on next episode. Peace.